Families, categories and groups
All three screens work the same way: each entry shows its order (arrows to move up/down), its Active badge, its number of products, "View" (the list of linked products) and the edit pencil.
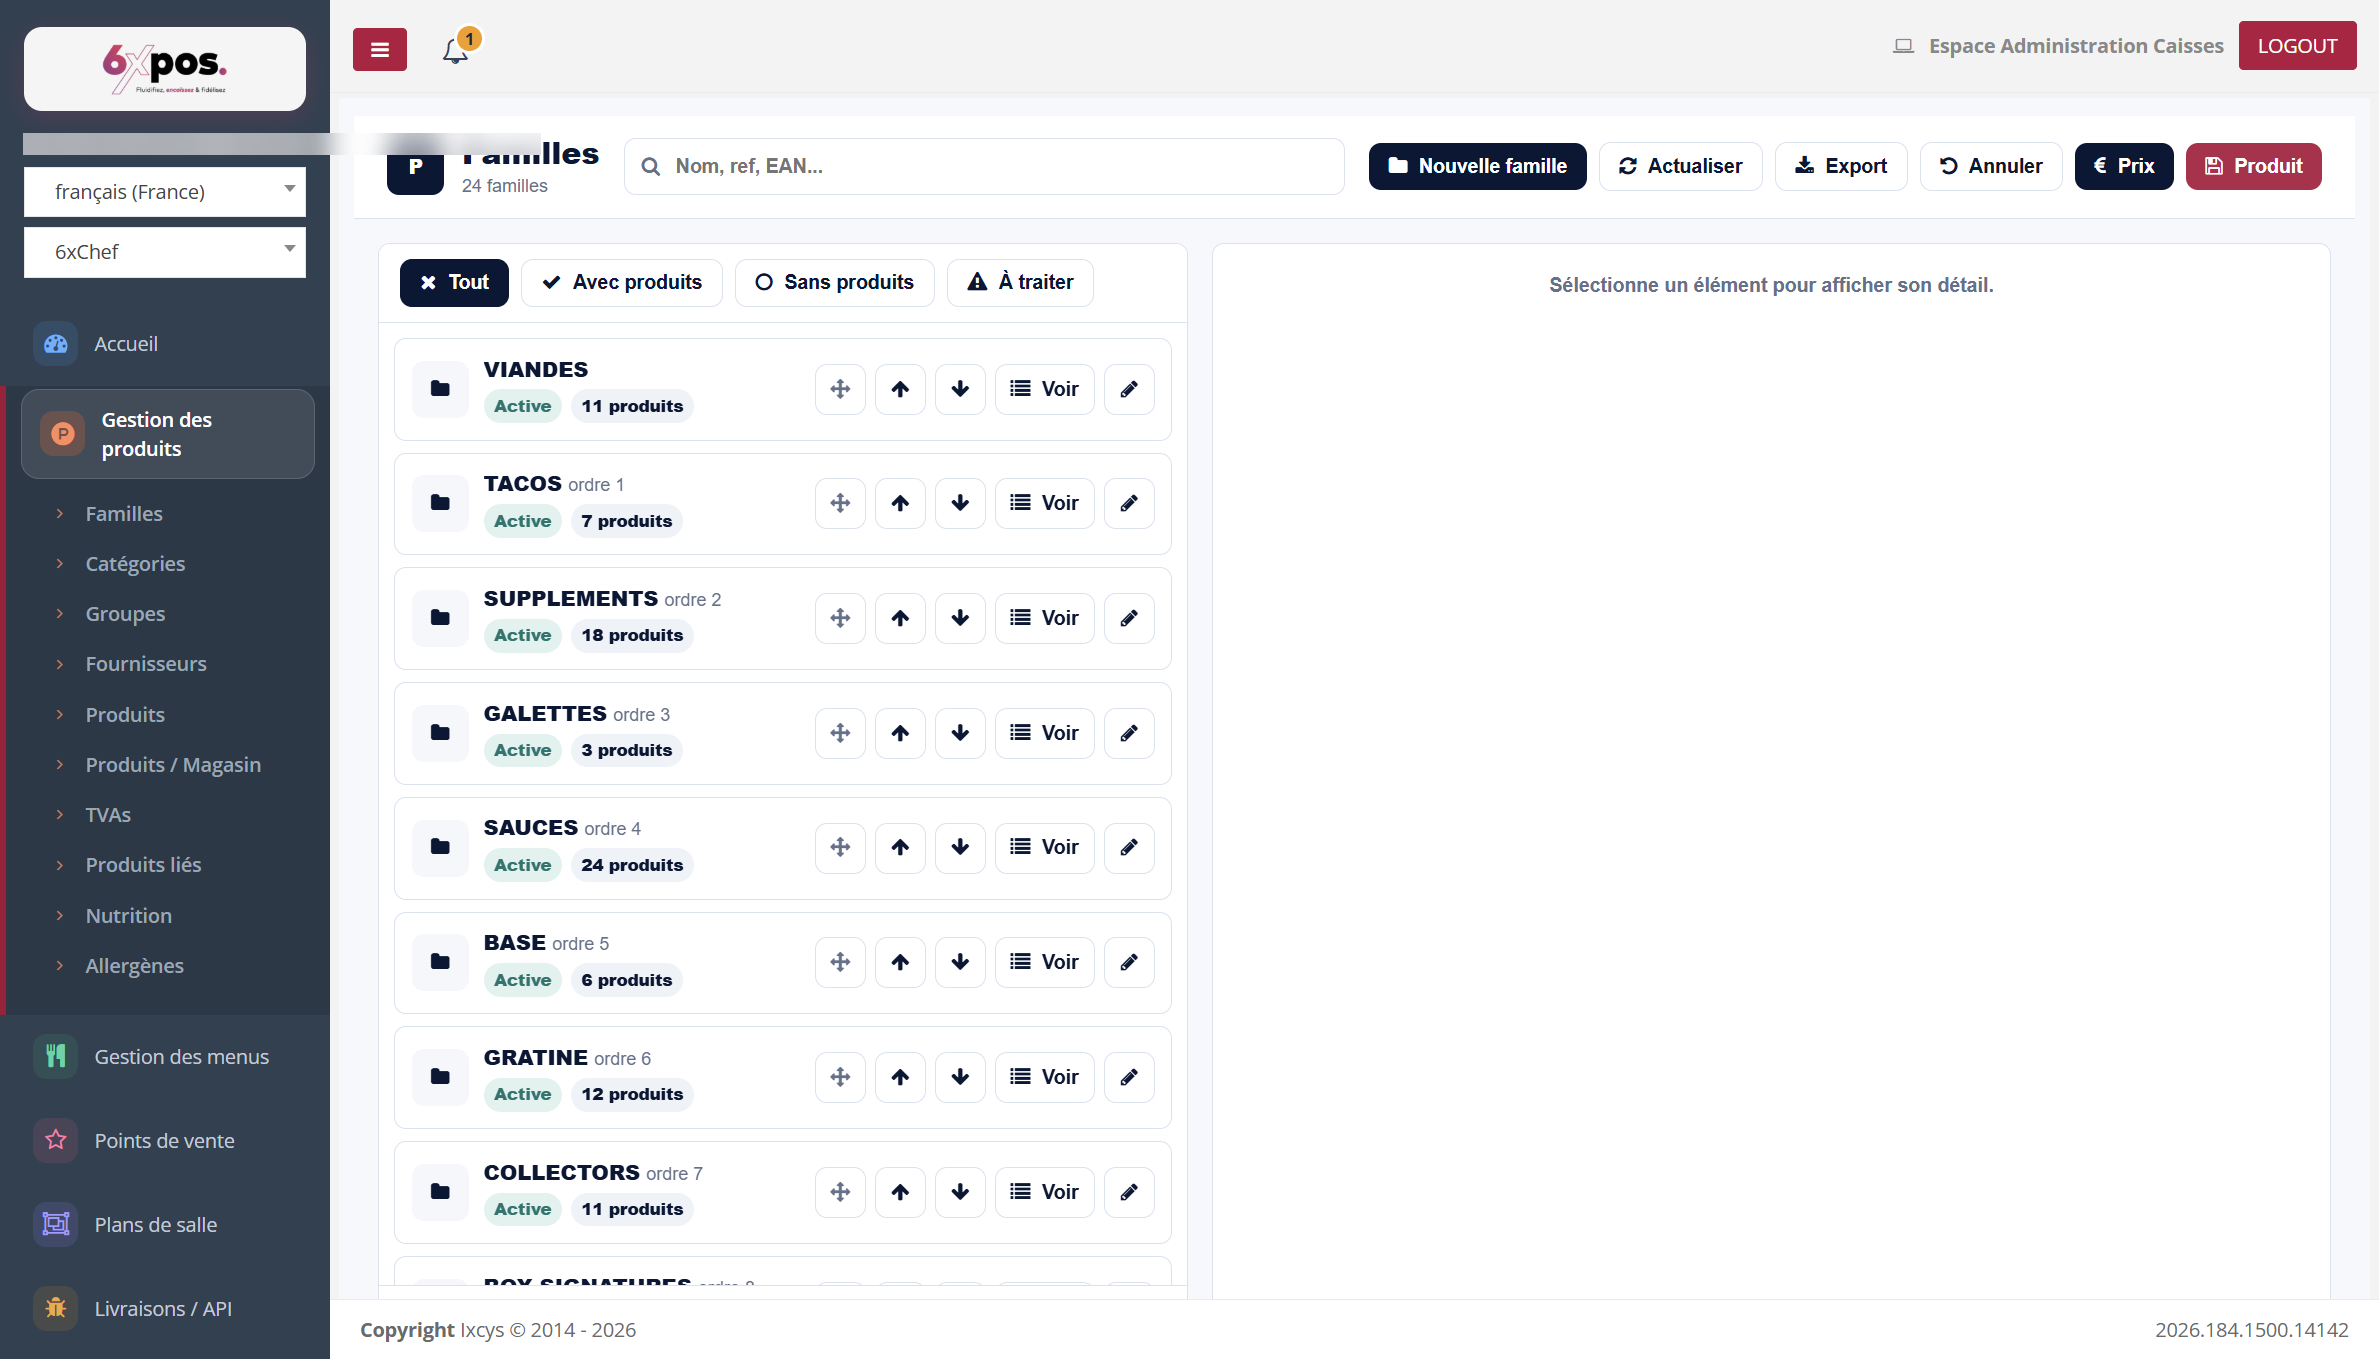
Figure 23 — Families: display order, number of products and actions.
All three screens work the same way: each entry shows its order (arrows to move up/down), its Active badge, its number of products, "View" (the list of linked products) and the edit pencil.
Good to know — the order of the families is the display order on the sales screens (POS till, kiosk): get it right.
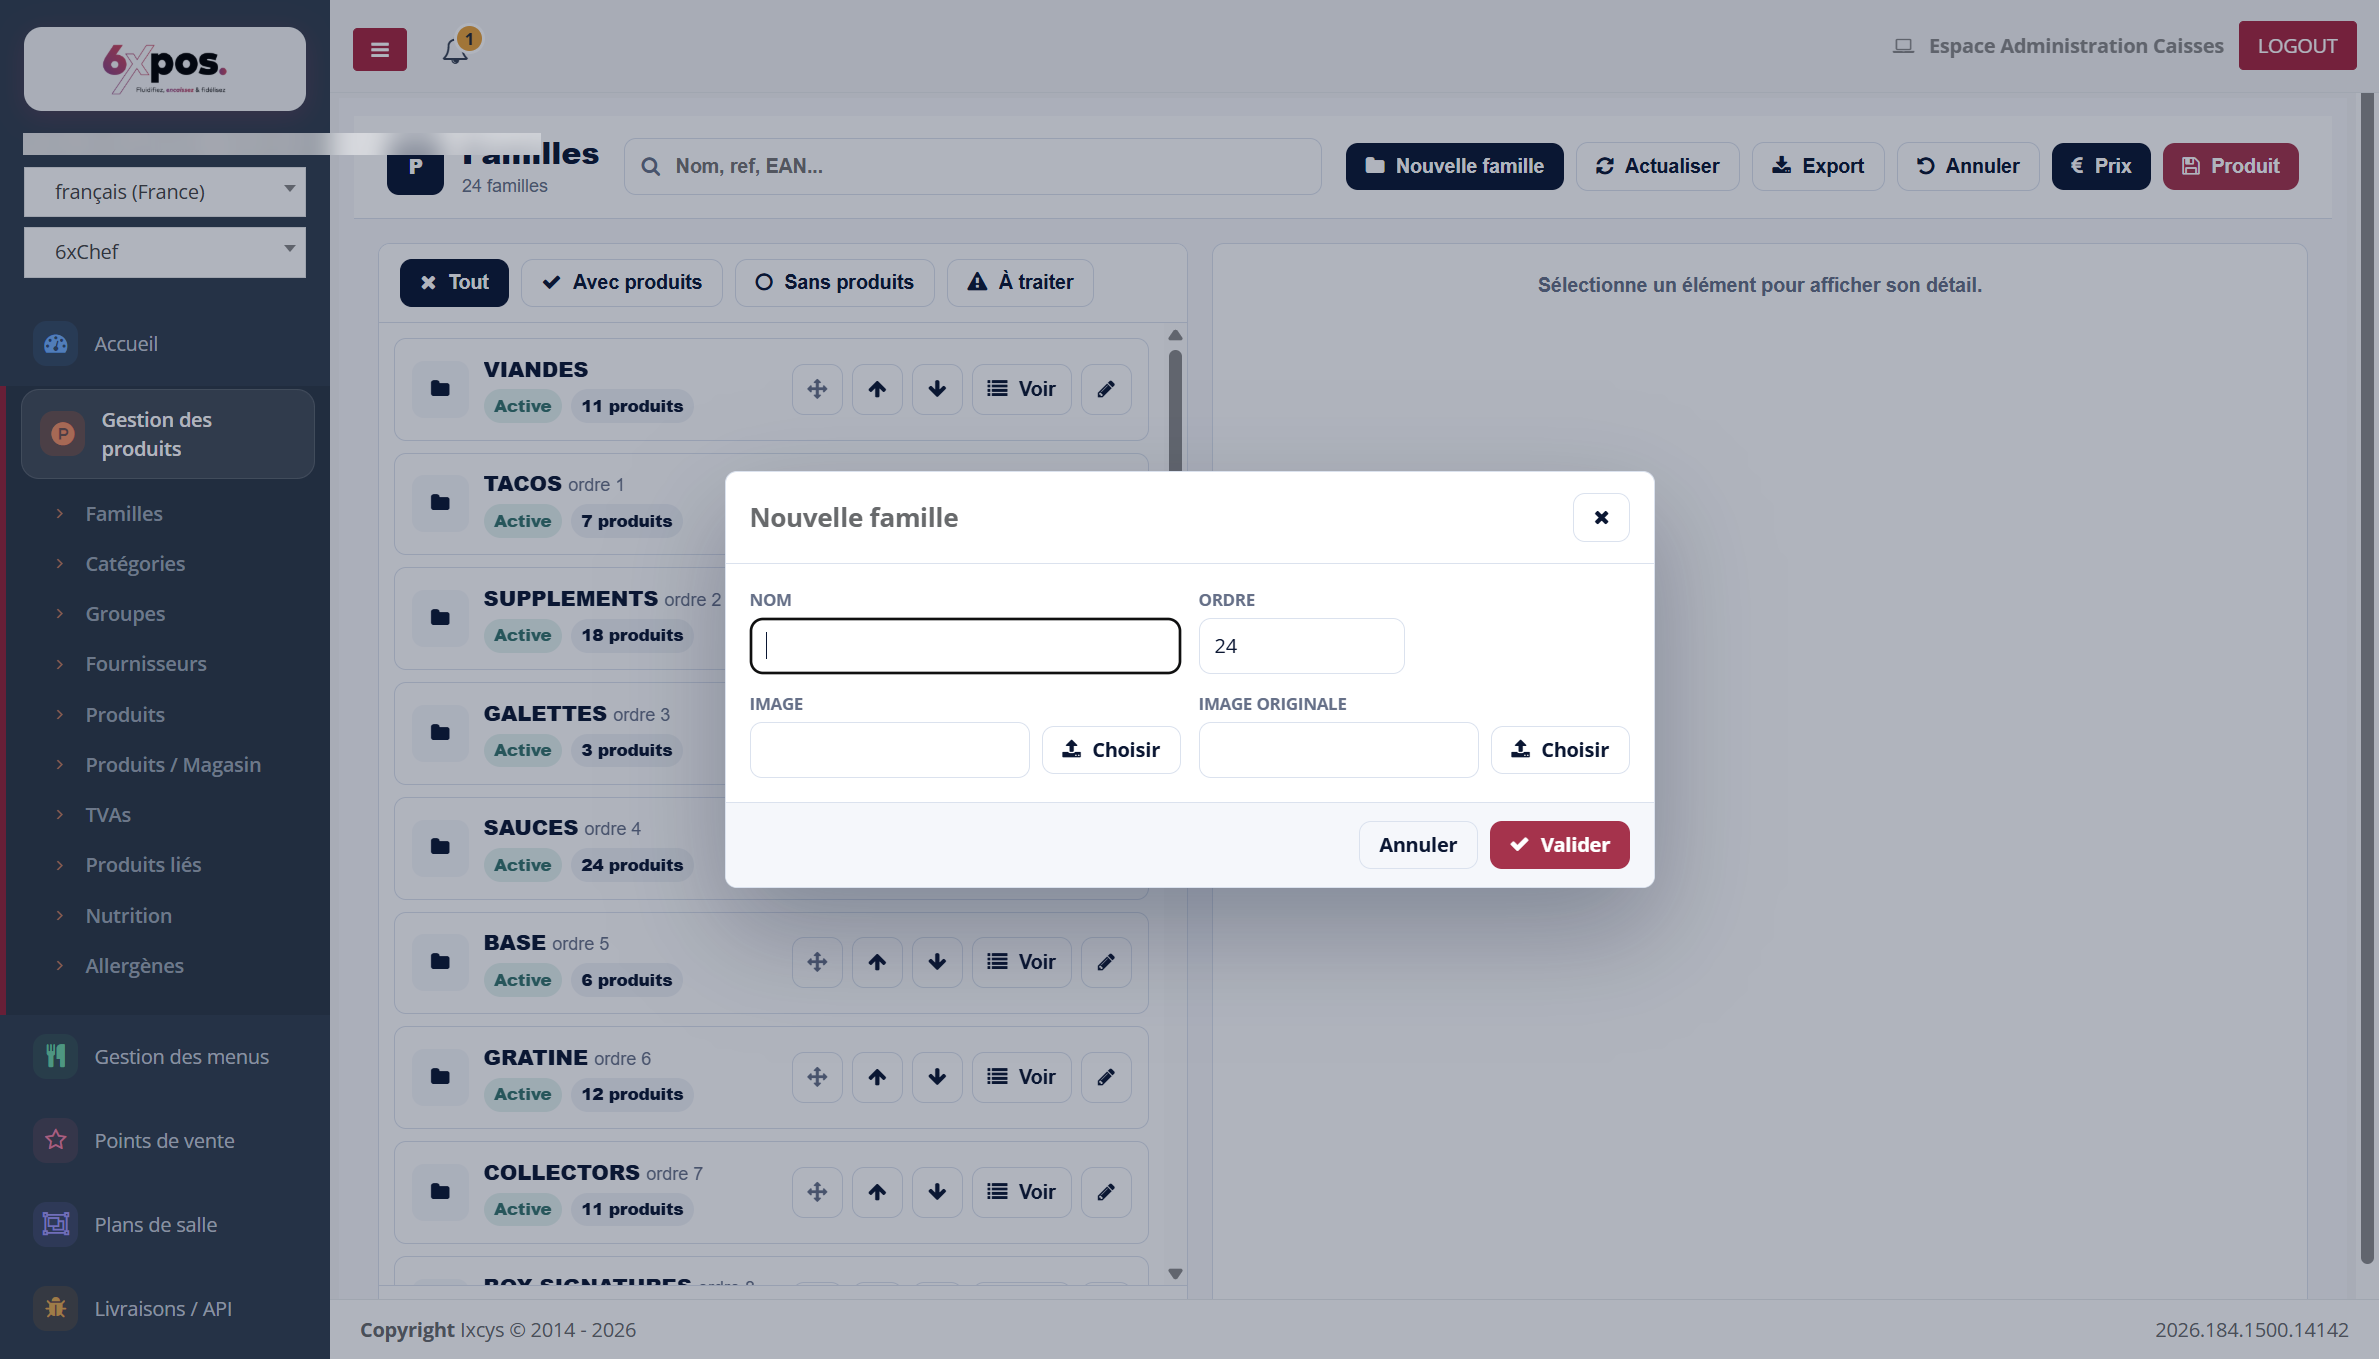
Figure 24 — Creating a family: name, order and images.
Groups: products AND menus
A group brings together items that belong together (a range, a marketing operation, a selection). A group accepts both PRODUCTS and MENUS: the "Linked products" panel displays both, with menus marked by a "Menu" badge.
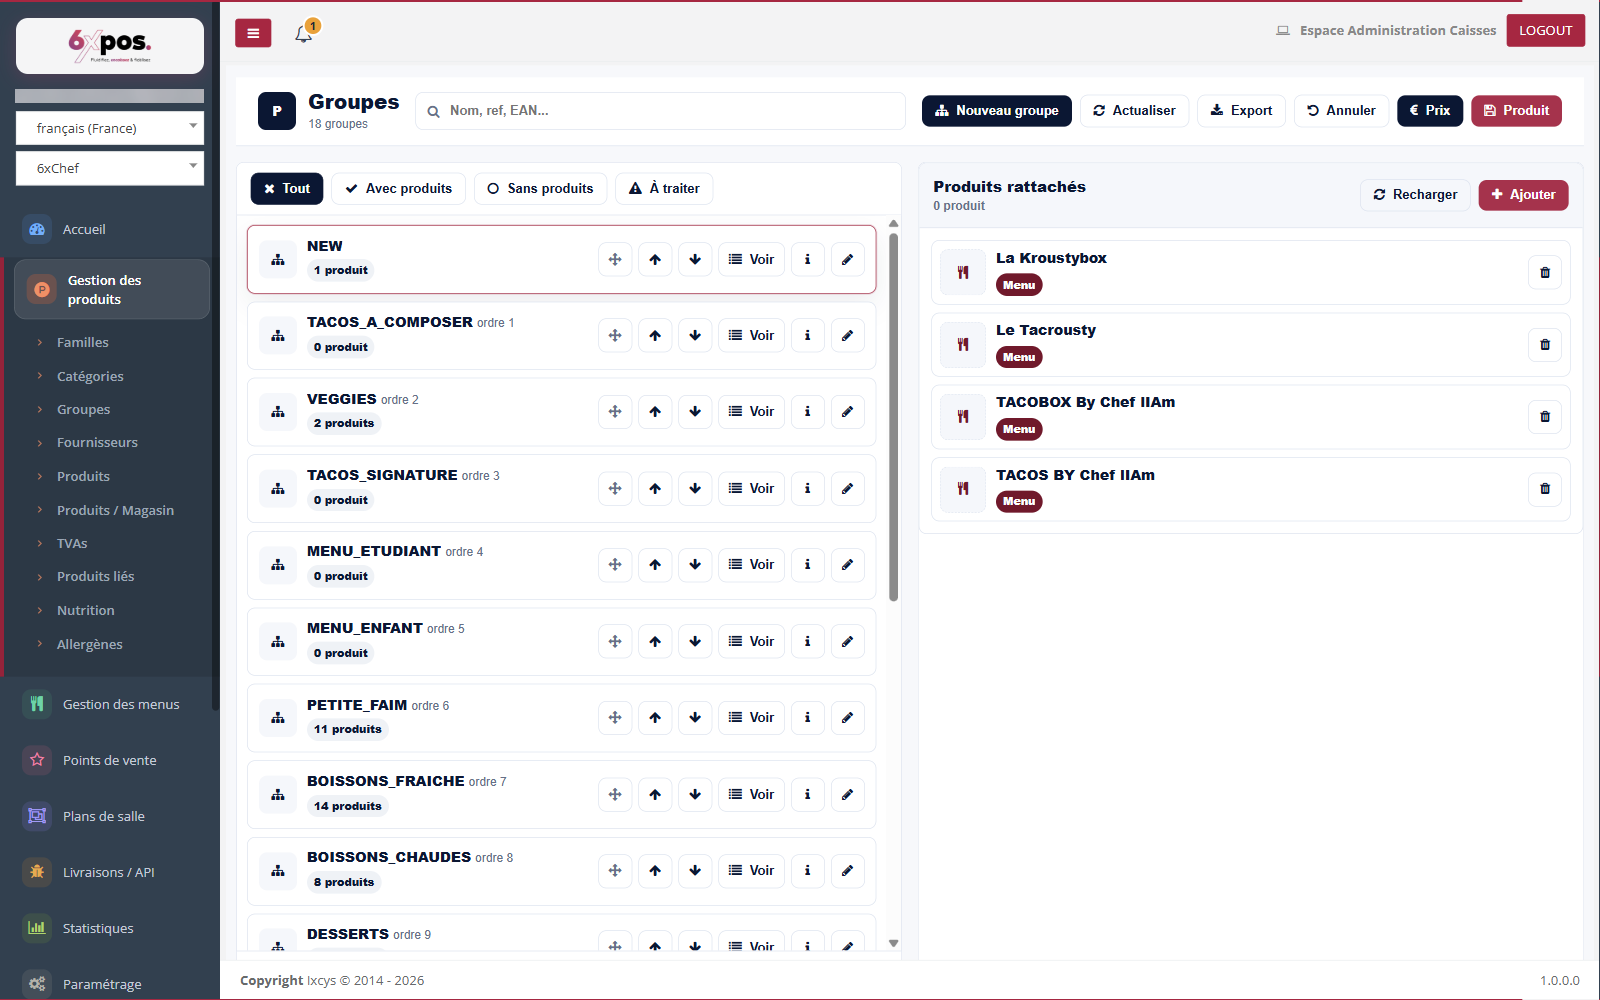
Figure 25 — The "NEW" group and its linked items: four menus ("Menu" badge), with the quick-edit pencil on each row.
- Quick-edit pencil: the pencil on a row opens the item's record directly — no need to go looking for it in the list.
To add an item, the "+ Add" button opens a selector where you first choose the TYPE — Product or Menu — then filter by family and category before ticking.
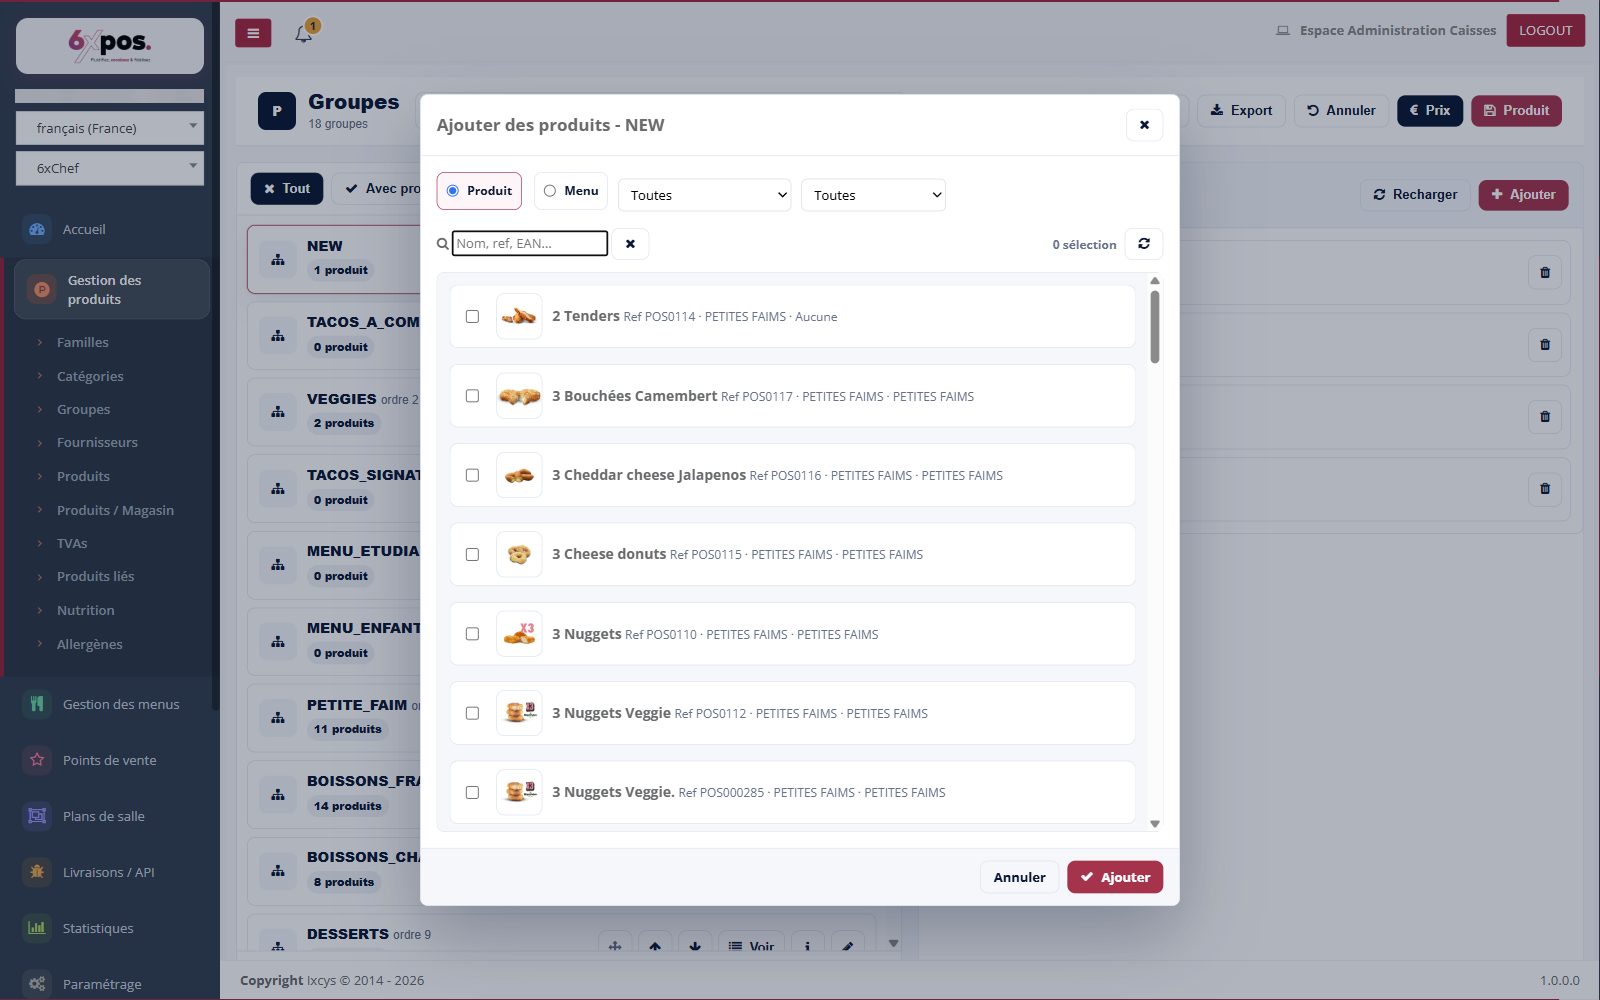
Figure 26 — The group's add selector: Product / Menu toggle, then Family and Category filters.
Good to know — a group's header counts the PRODUCTS: a group that contains only menus can therefore show "0 product" while still listing its menus just below.