Table management
The inventory of the POS's tables — regardless of how they are drawn on the floor plan. This is where you create, rename and delete tables and set their covers.
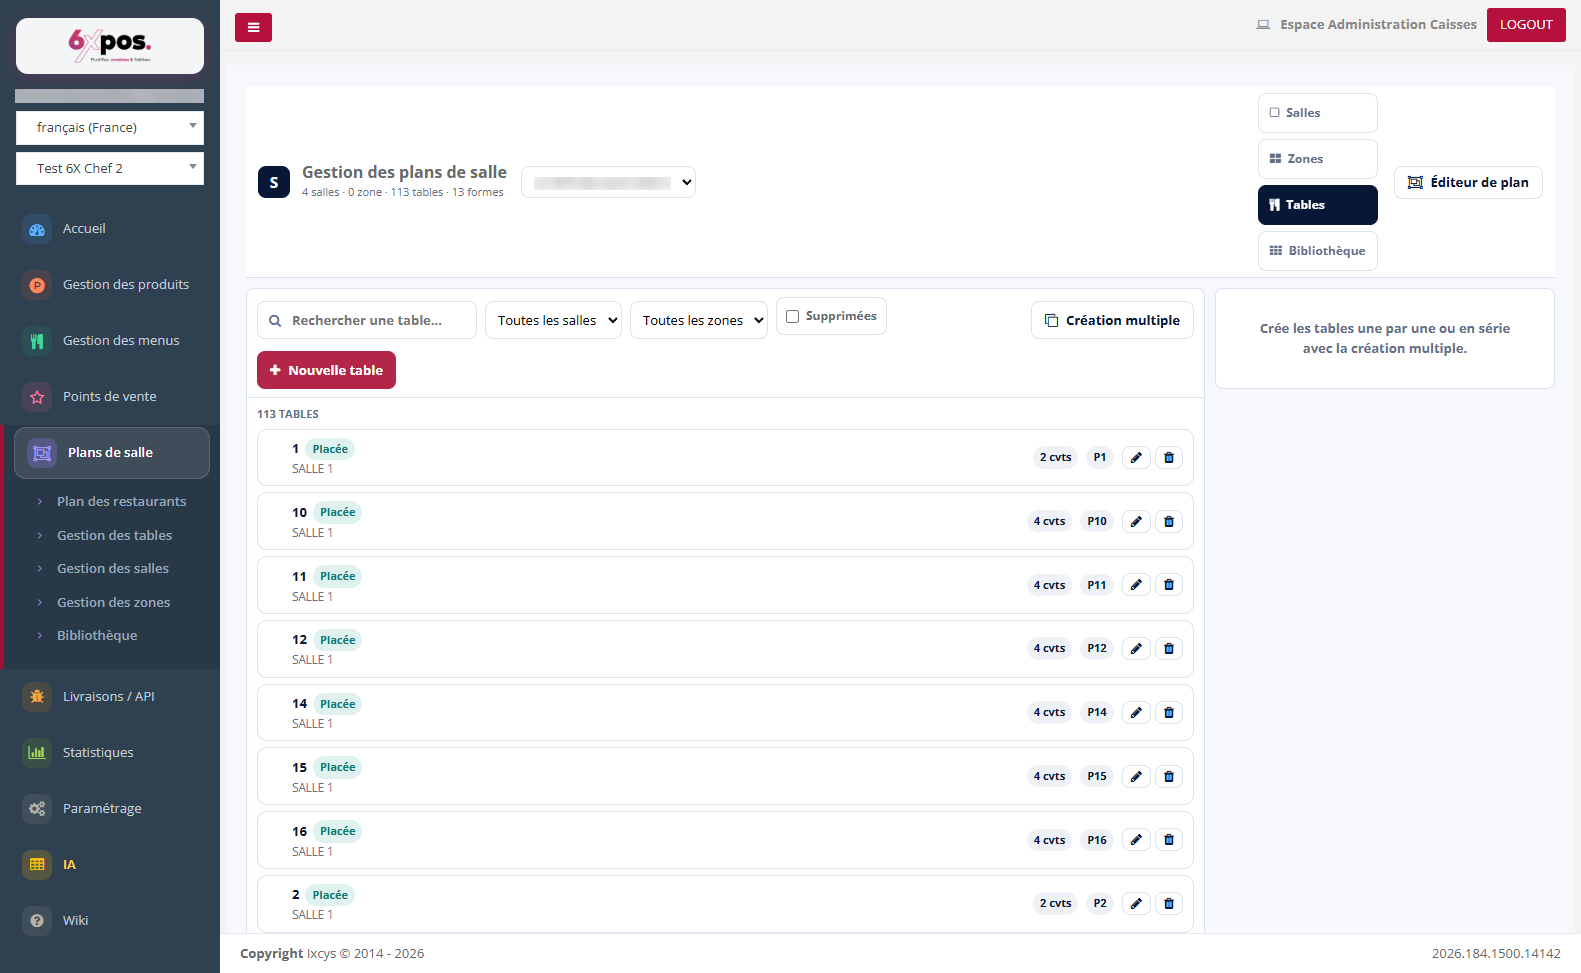
Figure 4 — The table list: search, filters by room and zone, status badges.
- Badges: "Placed" = the table is drawn on the floor plan; "N cvrs" = number of covers; "P1" = the table's priority.
- Filters: search by name, filter by room, by zone, and display of deleted tables (restorable).
Create or edit a table
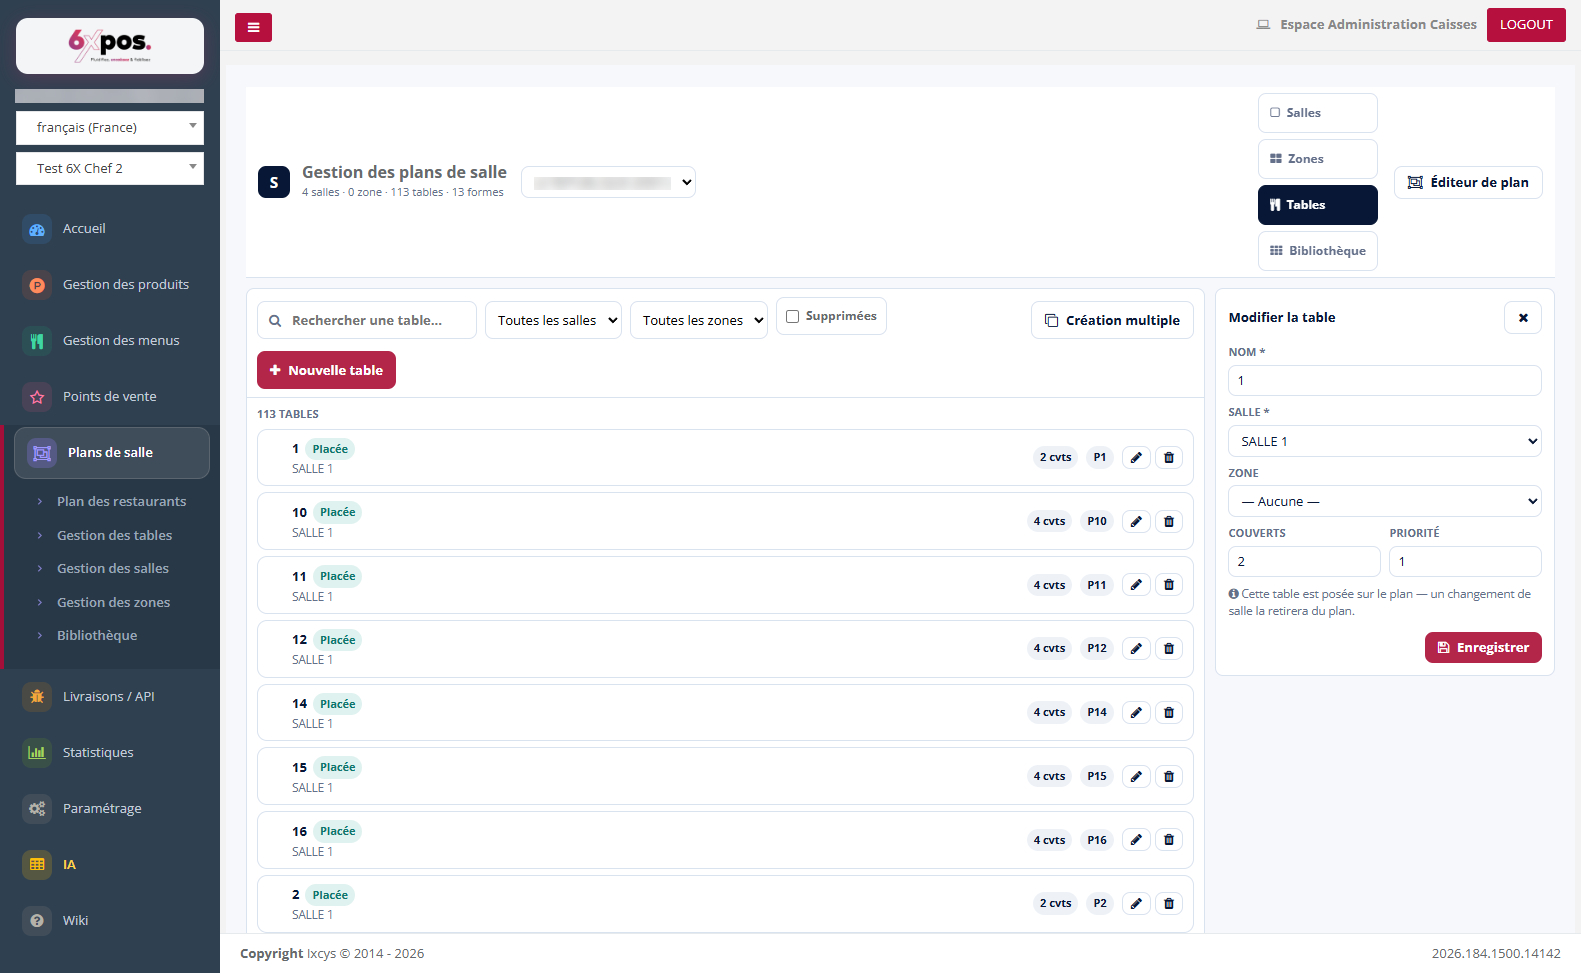
Figure 5 — The "Edit table" form: name, room, zone, covers, priority.
The form asks for: the name (number), the room it belongs to, the possible zone, the number of covers and the priority.
Good to know — if the table is already placed on the floor plan, changing its room removes it from the plan — the warning is shown in the form.
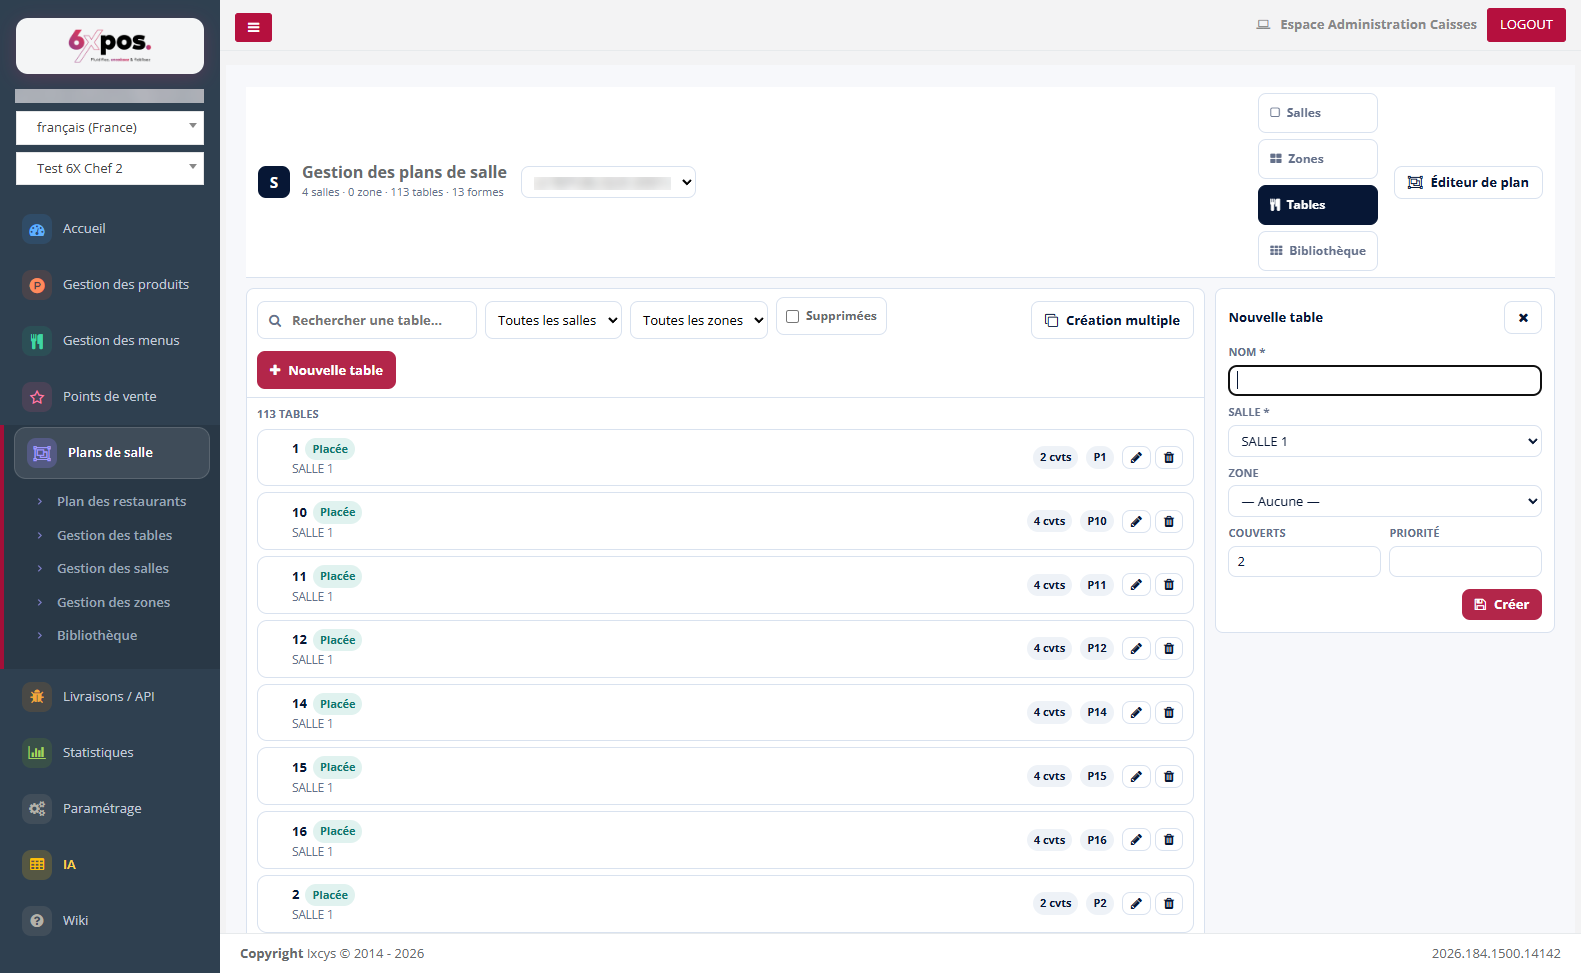
Figure 6 — Creating a single table.
Bulk creation
To equip a room quickly, bulk creation generates a series of tables all at once (serial numbering, shared room and covers).
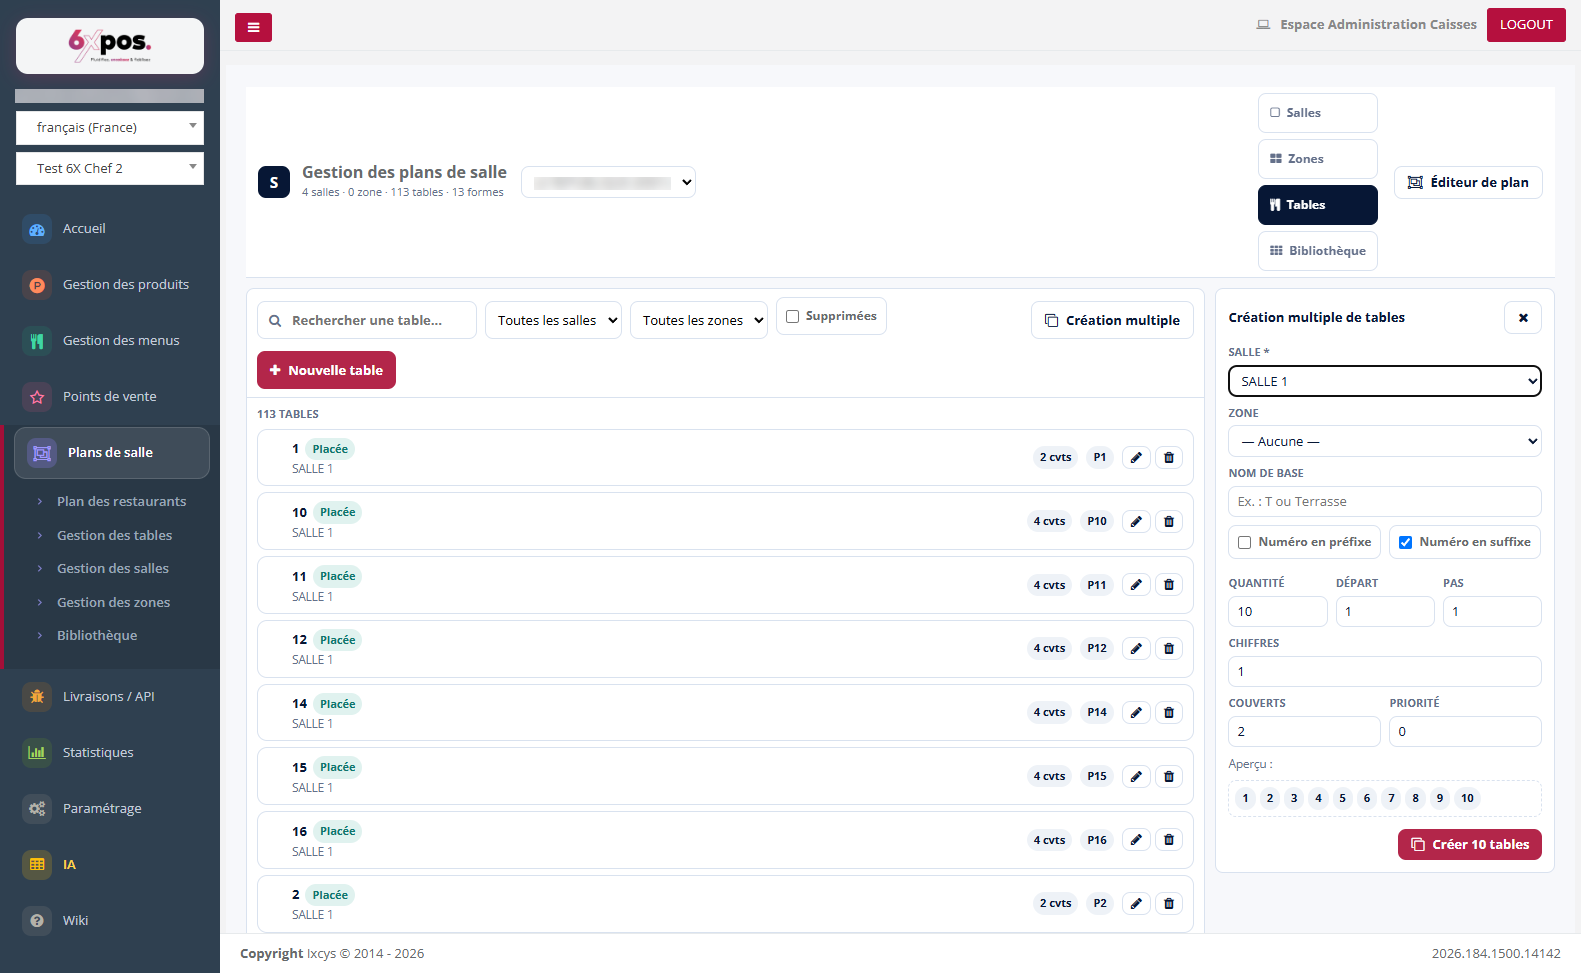
Figure 7 — Bulk creation: generate a series of tables in one go.